You can create an effective protein hair mask at home using simple kitchen ingredients. Start by beating one fresh egg in a mixing bowl, then add 2-3 tablespoons of mayonnaise and a teaspoon of olive oil. Whisk until smooth, adjusting thickness with more olive oil if needed. Apply the mixture to damp hair in sections, cover with a shower cap, and let it sit for 30 minutes. Rinse with cool water, then follow with a gentle shampoo and conditioner. For best results, repeat this treatment every 3-6 weeks. There's plenty more to explore about maximizing your mask's effectiveness.
Key Takeaways
- Mix one beaten egg with 2-3 tablespoons of mayonnaise and a teaspoon of olive oil until smooth and well-blended.
- Apply the mixture evenly to damp hair, focusing on damaged areas, and cover with a shower cap for 30 minutes.
- Rinse thoroughly with cool water to prevent egg from cooking, then follow with a gentle sulfate-free shampoo.
- For extra nourishment, add mashed avocado or coconut milk to the basic egg mixture before application.
- Repeat the protein treatment every 3-6 weeks, adjusting frequency based on your hair's response and needs.
Benefits of Protein Hair Masks
Over time, protein hair masks have become a go-to solution for maintaining healthy, resilient hair. When you're dealing with damaged protein structures in your strands, these treatments work wonders by replenishing essential nutrients and strengthening your hair from within. You'll notice that regular protein treatments can transform brittle, lackluster locks into stronger, more manageable tresses.
If you've been battling with chemically processed or heat-damaged hair, you'll appreciate how protein masks can help repair and restore your hair's natural structure. Rich sources of proteins, whether from store-bought treatments or DIY solutions, penetrate the hair shaft to improve hair texture and boost elasticity. You'll find that your hair becomes smoother, more resistant to breakage, and considerably less frizzy with consistent use.
What's particularly appealing about protein masks is their versatility and effectiveness. They're not just about making your hair smooth – they create a protective barrier against environmental damage while enhancing your hair's natural shine. Whether you're dealing with color-treated hair or simply want to maintain healthy locks, protein masks offer a practical solution that delivers visible results without breaking the bank.
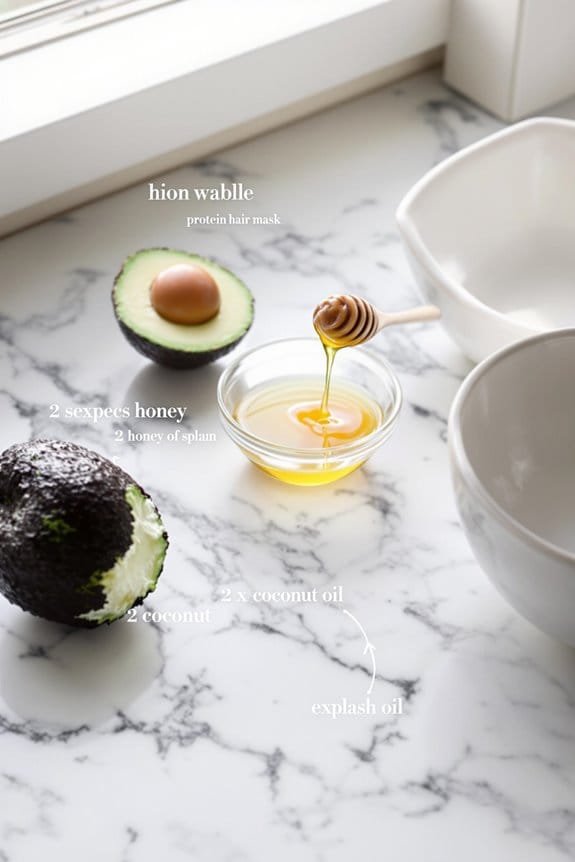
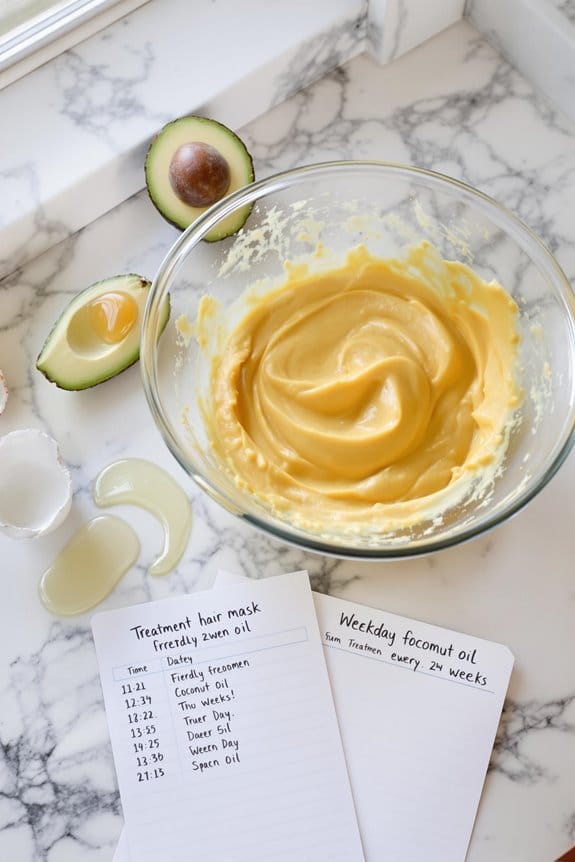
Essential Ingredients For Your Mask
Natural powerhouses form the foundation of an effective protein hair mask, and selecting the right ingredients makes all the difference in your results. When you're gathering components for your mask, start with eggs, which serve as your primary protein source. They're packed with keratin that'll strengthen your strands from root to tip.
You'll want to include coconut milk, which not only fights dandruff but also provides deep nourishment to your scalp. For an extra boost of conditioning power, add a ripe avocado to your mix – its vitamins and fatty acids will work wonders on your hair texture. Think of avocados as nature's conditioner (minus the hefty price tag of salon products).
Don't forget to incorporate honey, your mask's natural moisture-locking ingredient. It'll help seal in all the goodness while adding an enviable shine to your locks. Finally, a dollop of yogurt will tackle any lingering dryness issues and help smooth those stubborn flyaways. When combined, these ingredients create a powerhouse treatment that rivals expensive store-bought alternatives.
Additionally, using ingredients like coconut oil can enhance moisture retention, similar to how Maui Moisture products excel in providing hydration and nourishment.
Kitchen Items You'll Need
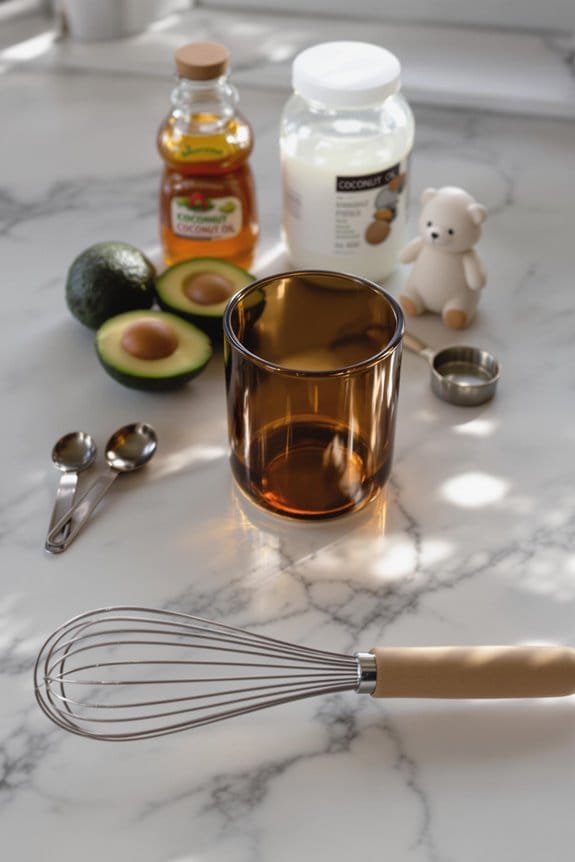
Preparing a protein hair mask requires basic kitchen tools you probably already own. You'll need a medium-sized mixing bowl, a whisk or fork for blending, and measuring spoons to guarantee proper proportions. Don't forget to grab a clean application brush if you have one, though your fingers work just fine too.
Start by gathering your core ingredients: you'll want fresh eggs for protein, coconut or regular milk for nourishment, and honey for its moisture-locking properties. If you're planning to use avocado, you'll also need a masher or fork to create a smooth consistency. For ingredients like olive oil and mayonnaise, keep measuring spoons handy to avoid over-saturating your mixture.
Consider having these additional items within reach: a shower cap or plastic wrap to cover your hair while the mask sets, a small rubber spatula to scrape every bit of goodness from your bowl, and a few hair clips to section your hair during application. While it might seem like you're setting up a mini salon in your kitchen, these tools will help you achieve that professional-level treatment right at home. Additionally, incorporating ingredients like black castor oil can enhance the moisturizing and nourishing effects of your mask.
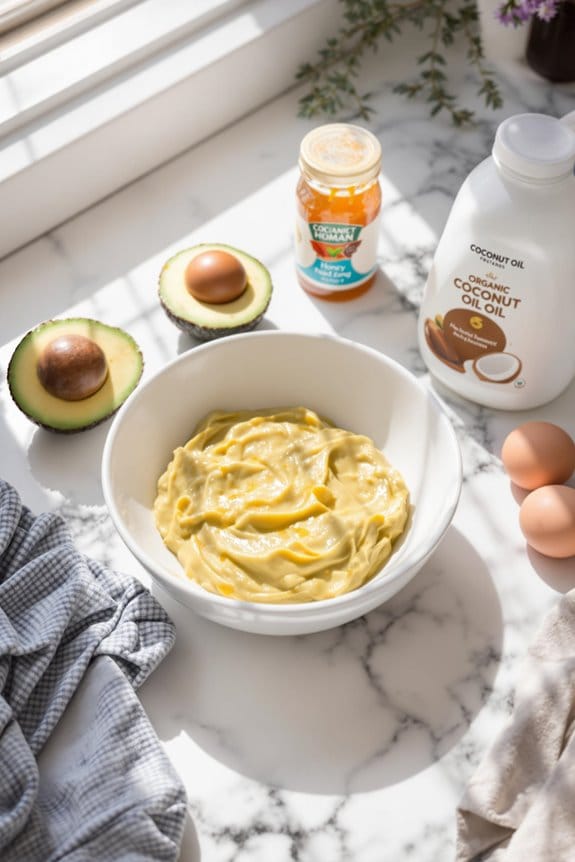
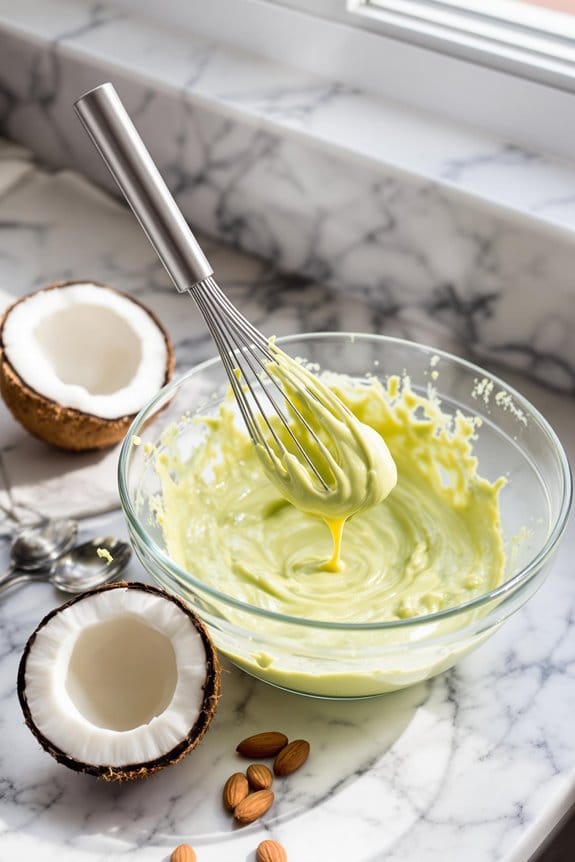
Step-by-Step Mixing Instructions
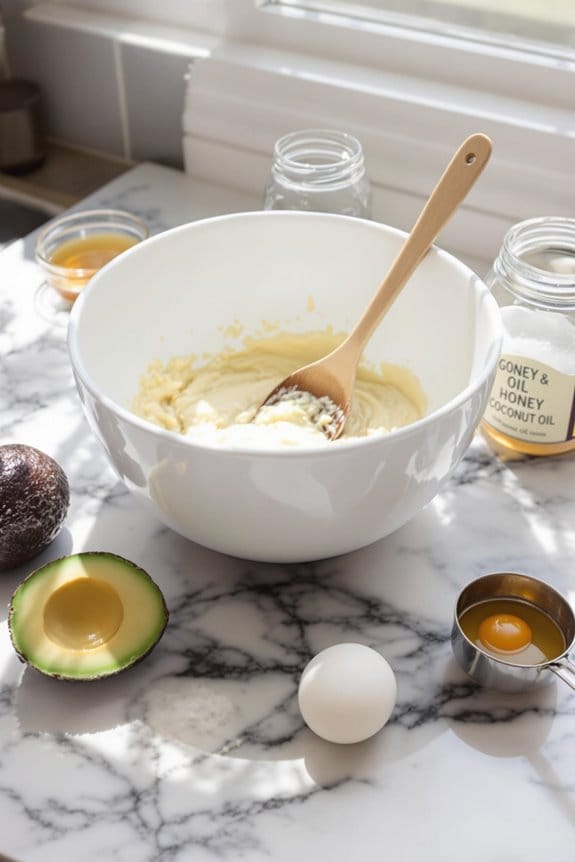
With your tools and ingredients ready, let's get started with the mixing process. Creating your homemade protein-rich hair mask begins with cracking and beating one fresh egg in a clean mixing bowl. You'll want to confirm there aren't any shell fragments that could get tangled in your hair later.
Next, measure out 2-3 tablespoons of whole mayonnaise and add it to your beaten egg. This combination creates the perfect base for your protein treatment, as mayo's natural oils complement the egg white's strengthening properties. For extra nourishment, drizzle in a teaspoon of olive oil – your dry ends will thank you later! Whisk these ingredients together until you achieve a smooth, uniform consistency that'll be easy to work with.
Before moving on to application, double-check that your mixture isn't too thick. It should be runny enough to pour into an applicator bottle but not so thin that it'll drip everywhere. If needed, adjust the consistency by adding tiny amounts of olive oil until you reach the perfect texture for your hair mask. Remember, a well-mixed formula guarantees even distribution and maximum benefits.
How To Apply The Mask
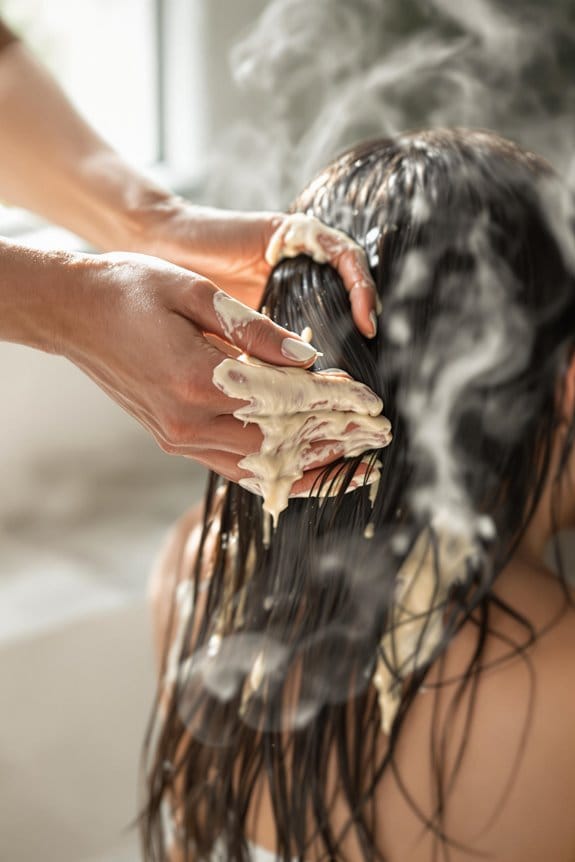
Once you've mixed your protein mask, proper application is essential for achieving the best results. Start by dividing your hair into four or more sections – you'll thank yourself later for taking this extra step, as it guarantees you won't miss any spots.
Now it's time to apply the mask systematically to your scalp and hair. You can use your hands for a more tactile experience, or grab a hair dye applicator bottle if you're feeling fancy. Make sure you're working the protein hair treatment from roots to ends, paying special attention to damaged areas. Don't be shy with the amount – your hair should feel thoroughly coated.
Pop on a plastic cap (yes, you'll look a bit like a chef, but it's worth it), and let your hair soak up all that protein goodness for 15-40 minutes. When time's up, rinse with lukewarm water – hot water's a no-go here, as it can strip away the protein benefits. Follow up with a gentle shampoo, then seal the deal with a deep conditioner. Your hair will feel stronger and more nourished when you're done.
Recommended Treatment Duration
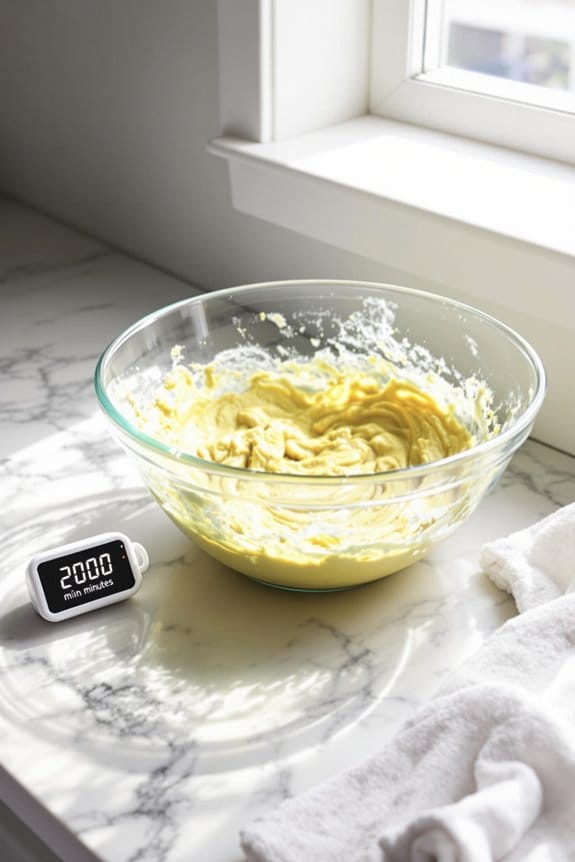
Timing your protein hair mask correctly can make all the difference in its effectiveness. For most homemade protein hair masks, you'll want to maintain a recommended treatment duration of 15 to 60 minutes, depending on your chosen ingredients and hair needs.
If you're using an egg-based mask (a classic protein powerhouse), stick to about 30 minutes of application time. Your hair will thank you for not rushing the process! For those heavier, moisture-rich treatments like mayonnaise or avocado masks, you can extend the duration up to an hour to let those nourishing ingredients work their magic. Looking for some serious deep conditioning? Coconut milk treatments are quite flexible – you can either do a quick 30-minute session or leave it overnight for maximum benefits.
Here's a pro tip you won't want to skip: always rinse hair with cool water after your treatment. While it might not be the most comfortable finale to your hair care routine, cool water helps seal in moisture and prevents protein loss. Think of it as locking in all that goodness you've just treated your strands to!
Best Practices For Rinsing
After investing time in your protein hair mask, proper rinsing technique becomes essential for maximizing its benefits. You'll want to start by adjusting your water temperature to lukewarm or cool – think invigorating spring day rather than hot summer afternoon. This temperature sweet spot helps seal your hair cuticles and lock in that precious moisture you've just worked so hard to achieve.
Begin with a thorough rinse to remove all traces of the protein treatment. You don't want any lingering residue playing hide-and-seek in your strands! Next, reach for a gentle shampoo that's free of sulfates – your hair will thank you for being so considerate of its needs. Once you've given your hair a proper cleanse, it's time for the finishing touches. Apply your favorite conditioner to restore moisture and enhance the smoothness that your protein mask started. Think of it as giving your hair its well-deserved finale in this beauty routine. Remember to avoid hot water at all costs during this process – it's like kryptonite to your newly treated hair, potentially causing protein loss and unwanted dryness. Incorporating humidity protection in your routine can further help maintain your hair's health and style after rinsing.
Aftercare Tips

Taking care of your hair in the days following a protein hair mask will determine how well the treatment works long-term. After rinsing the mask thoroughly with cool water, you'll want to follow up with a gentle shampoo to remove any lingering residue. Don't skip the deep conditioning step, as it's essential for maintaining the perfect balance of protein and moisture.
One of the most important aftercare tips is to put those styling tools away. Your hair needs at least 48 hours to fully absorb all the goodness from the treatment, so resist the urge to reach for that flat iron or blow dryer. Instead, let your locks air dry naturally – think of it as a mini vacation for your strands.
To maximize the benefits of your treatment, apply a leave-in conditioner or hair oil to help hydrate and protect your tresses from environmental stressors. This extra layer of protection works like a shield, helping to lock in all the nutrients from your protein treatment. Remember, consistent aftercare is just as important as the mask itself, so stick to these guidelines to maintain those healthy, bouncy results. Additionally, consider incorporating leave-in treatments into your routine to enhance moisture and protect against heat damage.
When To Repeat Treatment
Finding the right frequency for protein treatments is like discovering your hair's personal rhythm. While general guidelines suggest repeating treatments every 3 to 6 weeks, your hair's specific needs will ultimately determine the perfect schedule.
Pay attention to your hair's signals – they'll tell you when it's time for another protein treatment. If you're noticing increased hair breakage, stubborn frizz that won't behave, or hair that's lost its bounce, it's probably time to schedule your next session. Different hair types have varying needs: if you've got low porosity hair, you'll want to space treatments 4 to 6 weeks apart to prevent protein overload. Those with high porosity strands might need treatments more frequently to maintain strength.
If you're shifting from relaxed to natural hair, you might need to increase your treatment frequency to strengthen those delicate strands at the line of demarcation. However, don't get too enthusiastic – if your hair starts feeling stiff or brittle after treatments, that's your cue to dial back the frequency. Remember, it's better to start conservatively and adjust based on your hair's response.
Frequently Asked Questions
How to Make a Protein Hair Mask at Home?
You'll get perfect DIY protein hair repair by mixing a beaten egg with mayonnaise, adding natural ingredients like avocado or coconut milk for moisture retention. These nourishment-rich combinations strengthen and condition your damaged strands.
How Can I Make Protein for My Hair Naturally?
Think fancy salon treatments are best? Think again! You can boost your hair's protein naturally using DIY treatments. Mix eggs, yogurt, or avocado with honey for amazing natural ingredients that promote scalp health and hair nourishment.
Which Protein Mask Is Best for Hair?
The Egg-Yoghurt mask is your best protein-rich choice, as it combines multiple protein sources and delivers superior hair health benefits. You'll get ideal results from its dual-action moisturizing and strengthening properties.
How to Make Protein Powder at Home for Hair Growth?
You can blend natural ingredients like flaxseeds, chia seeds, or hemp seeds into a fine protein powder. These protein sources support hair health and growth. Store your DIY recipe in an airtight container for freshness.
